在 2014 年時我曾經發過一篇 使用 Shairport 讓你的 Raspberry Pi 變成 AirPlay 音樂 播放器 的文章,講述如何透過 shairport 在 raspberry pi 下建立 AirPlay 接收器。很 可惜的事情是,原本 shairport 的作者決定不再繼續維護這個專案,因此誕生了 shairport-sync 這個新的專案。
shairport-sync 除了基於 shairport 的程式碼以外,亦改進了聲音與影像的同步率,因此 我們除了可以遠端播放音樂外,看電影也沒問題囉 ~
編譯並安裝 shairport-sync
首先,我們要安裝一些軟體來幫助我們編譯並安裝 Shairport。
sudo apt-get install build-essential git autoconf libtool \
     libdaemon-dev libasound2-dev libpopt-dev libconfig-dev \
     avahi-daemon libavahi-client-dev \
     libssl-dev
該裝的軟體都裝完以後,我們就可以下載最新的 shairport-sync 程式碼並安裝到系統內。
git clone https://github.com/mikebrady/shairport-sync.git
cd shairport-sync && autoreconf -i -f
接下來就是依照 shairport-sync 的 README 進行設置,我是設定了這些參數
./configure \
    --with-alsa --with-stdout --with-pipe --with-avahi \
    --with-ssl=openssl --with-metadata --with-systemd
接下來將整個程式安裝到系統中
root@raspberrypi:/home/pi/shairport-sync# make install
因為在前面的參數我是設定為給 systemd 的使用者使用,因此需要增加使用者與群組
root@raspberrypi:/home/pi# groupadd -r shairport-sync
root@raspberrypi:/home/pi# useradd -r -M -g shairport-sync -s /usr/bin/nologin -G audio shairport-sync
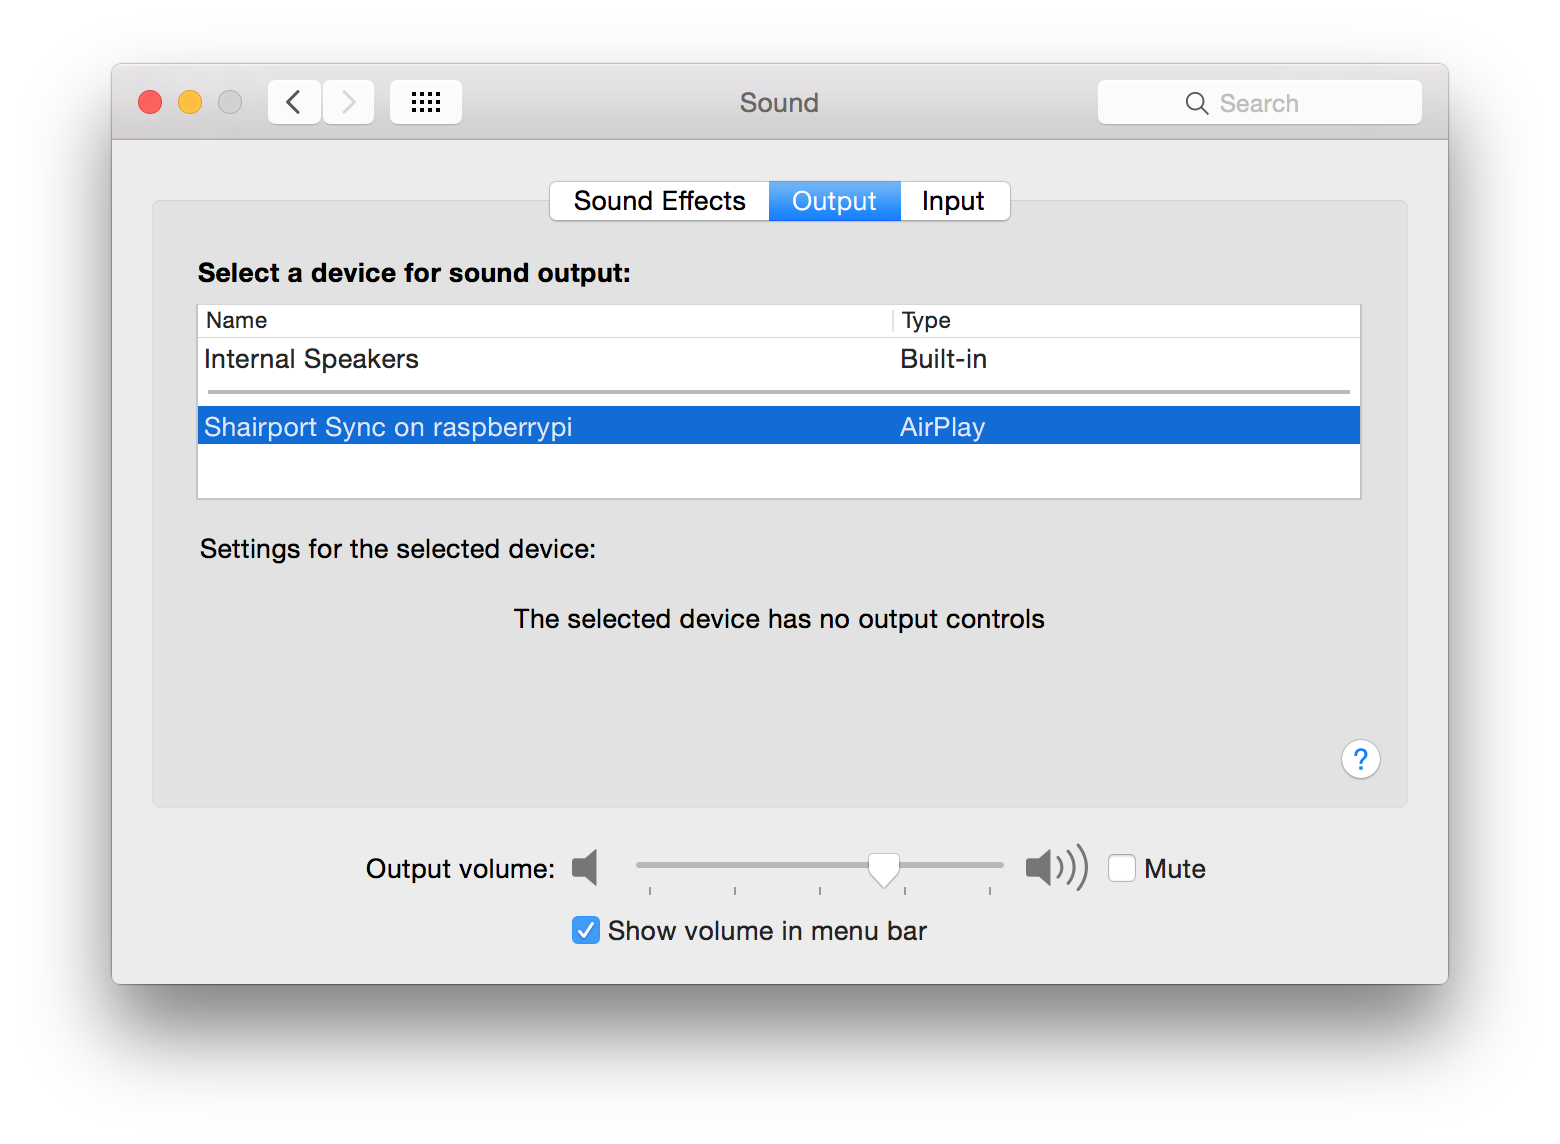
接著加入到 systemd 開機設定中,並啟用 shairport-sync 服務
root@raspberrypi:/home/pi# systemctl enable shairport-sync
root@raspberrypi:/home/pi# systemctl start shairport-sync
完成後如果你的 MacBook 和 Raspberry Pi 在同一個網域的話,你可以在 System Preferences 看到他,如下圖: