JavaFX 是目前 Java 發展的重點項目,自 Java 8 後已經整合進 JRE 裡面,JavaFX 最新 引我的地方,在於他的介面在 Linux 下也非常美觀,想想以前就是因為 Java 寫出來的程 式和 Linux 環境下不搭,所以非常排斥使用 Java 寫程式。
這篇文章主要是根據 Oracle 官方所提供的 JavaFX 教學 Hello World, JavaFX Style 轉 變成 Clojure 的版本。
先來看看 JAVA 要怎樣寫
我們的程式碼是從 Oracle 的 JavaFX 教學 Hello World, JavaFX Style 取得,其內容如下:
package helloworld;

import javafx.application.Application;
import javafx.event.ActionEvent;
import javafx.event.EventHandler;
import javafx.scene.Scene;
import javafx.scene.control.Button;
import javafx.scene.layout.StackPane;
import javafx.stage.Stage;

public class HelloWorld extends Application {
    public static void main(String[] args) {
        launch(args);
    }

    @Override
    public void start(Stage primaryStage) {
        primaryStage.setTitle("Hello World!");
        Button btn = new Button();
        btn.setText("Say 'Hello World'");
        btn.setOnAction(new EventHandler<ActionEvent>() {

            @Override
            public void handle(ActionEvent event) {
                System.out.println("Hello World!");
            }
        });

        StackPane root = new StackPane();
        root.getChildren().add(btn);
        primaryStage.setScene(new Scene(root, 300, 250));
        primaryStage.show();
    }
}
建立我們的專案
現在我們來建立一個新的 clojure 專案
coldnew@Rosia ~ $ lein new helloworld
專案建立完成後,我們要稍微修改一下 project.clj ,加上 :main 讓我們可以使用
lein run 直接執行主程式,同時要記得加入 :aot :all 這一行來啟用 AOT (Ahead of
Time) 編譯。
(defproject helloworld "0.1.0-SNAPSHOT"
  :description "FIXME: write description"
  :url "http://example.com/FIXME"
  :license {:name "Eclipse Public License"
            :url "http://www.eclipse.org/legal/epl-v10.html"}
  :dependencies [[org.clojure/clojure "1.7.0"]]

  :aot :all
  :main helloworld.core)
編輯 core.clj
接著編輯 src/helloworld/core.clj ,將原本的內容清除,我們將仿照 Java 的版本一
一加上我們的程式。
首先是載入我們所需要的套件,在 Clojure 中要載入 Java 的函式庫都需要使用 import
來進行載入,這邊基本上就是你在 Java 裡面會用到哪些模組,在 Clojure 中就用相對應的方式將其載入。
(ns helloworld.core
  (:import (javafx.application Application)
           (javafx.event ActionEvent EventHandler)
           (javafx.scene Scene)
           (javafx.scene.control Button)
           (javafx.scene.layout StackPane)
           (javafx.stage Stage)))
載入完模組後,為了讓 Clojure 可以轉換成 jar 檔,我們要透過 gen-class 來將 helloworld.core 這個 class 產生出來,除此之外,透過 gen-class 我們也以告知我們要擴充的 java class 是哪一個。
(gen-class
 :name helloworld.core
 :extends javafx.application.Application)
接下來讓我們來定義我們的 main 方法
(defn -main [& args]
  (Application/launch hello.core args))
最後就是最主要的部分了, start 是 JavaFX 程式的進入點,和程式的 main 很相 像。 Stage 是應用程式最頂端的容器,會經由 start 傳送過來。 Scene 則是畫面 的內容,我們將 StackPane 置放於我們的 Scene 中,並加入了一個按鈕。
為了可以讓按鈕的事件可以被接收,這邊要使用 Clojure 的 proxy 功能來創建
Button 的 EventHandler 。
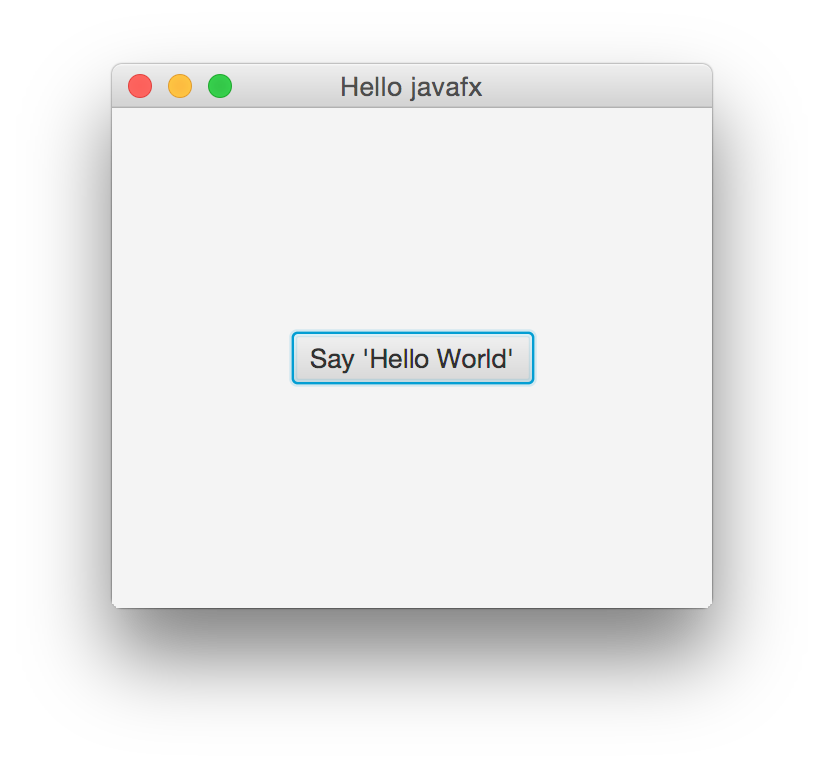
(defn -start [this stage]
  (let [root (StackPane.)
        btn (Button.)]
    (.setTitle stage "Hello javafx")

    ;; Add click event to button and set label
    (.setOnAction btn
                  (proxy [EventHandler] []
                    (handle [^ActionEvent event]
                      (println "hello world!"))))
    (.setText btn "Say 'Hello World'")

    ;; Add button to stackPane
    (.add (.getChildren root) btn)

    ;; Create Scene
    (.setScene stage (Scene. root 300 250))
    (.show stage)))
執行我們的程式
由於我們一開始就在 project.clj 裡面加上了 :aot all 的設定,因此我們可以直接
使用 lein run 來執行並測試這隻程式。
coldnew@Rosia ~/helloworld $ lein run
完整程式碼
由於這篇文章的程式很單純,因此我就不提供 git repo 讓各位測試,本文完整的程式碼如 下:
(ns helloworld.core
  (:import (javafx.application Application)
           (javafx.event ActionEvent EventHandler)
           (javafx.scene Scene)
           (javafx.scene.control Button)
           (javafx.scene.layout StackPane)
           (javafx.stage Stage)))

(gen-class
 :name helloworld.core
 :extends javafx.application.Application)

(defn -main [& args]
  (Application/launch hello.core args))

(defn -start [this stage]
  (let [root (StackPane.)
        btn (Button.)]
    (.setTitle stage "Hello javafx")

    ;; Add click event to button and set label
    (.setOnAction btn
                  (proxy [EventHandler] []
                    (handle [^ActionEvent event]
                      (println "hello world!"))))
    (.setText btn "Say 'Hello World'")

    ;; Add button to stackPane
    (.add (.getChildren root) btn)

    ;; Create Scene
    (.setScene stage (Scene. root 300 250))
    (.show stage)))