最近在研究自幹自己的 emacs,於是瞄上了 Electron 。Electron 原名為 Atom-Shell, 也就是 GitHub 開發的 ATOM 編輯器使用的 UI 介面端。Electron 和 NW.js (node-webkit) 一樣是從 Chromium 改過來的,不過目前看起來發展性比較好 (個人觀點), 如果想要使用 node.js 去製作桌面版的圖形介面程式,Electron 和 NW.js 皆是很好的進 入點。
當然,如果你想知道 electron 和 nw.js 的差異,可以參考這篇文章: Technical Differences Between Electron and NW.js
本篇文章會先從 javascript 搭配 electron 開始,再進入到 clojurescript 的世界。
環境建立
首先當然你的系統需要安裝 node.js ,接著我們可以使用以下兩種方式其中一個,將 electron 安裝進系統或是本地專案內
# Install the `electron` command globally
npm install electron-prebuilt -g

# Install as a development dependency
npm install electron-prebuilt --save-dev
從 javascript 世界來學 electron
在學習 clojurescript 的過程中,由於會用到一些 javascript lib 或是功能,學習一些 javascript 是不可避免的,因此讓我們從 javscript 的 electron 版本開始玩吧 :)
(這邊的 javascript 範例編譯自 Electron 官方 Quick Start 文件)
一般來說,一個 electron 專案具有以下結構
your-app/
├── package.json
├── main.js
└── index.html
package.json 定義了這個專案的名稱、版本、依賴於哪些函式庫等資訊,其內容基本上
和你在寫 node.js 程式時是一樣的,而在 main 欄位中指定的腳本則為我們主程式的進
入點。基本的 package.json 內容如下:
(如果 main 欄位並未被指派,則預設會執行 index.js 替代)
{
  "name"    : "your-app",
  "version" : "0.1.0",
  "main"    : "main.js"
}
main.js 是我們的主程式,並用來建立圖形視窗以及處理事件 (ex: 關掉視窗),我們在此填入以下內容:
var app = require('app');  // Module to control application life.
var BrowserWindow = require('browser-window');  // Module to create native browser window.

// Report crashes to our server.
require('crash-reporter').start();

// Keep a global reference of the window object, if you don't, the window will
// be closed automatically when the JavaScript object is garbage collected.
var mainWindow = null;

// Quit when all windows are closed.
app.on('window-all-closed', function() {
  // On OS X it is common for applications and their menu bar
  // to stay active until the user quits explicitly with Cmd + Q
  if (process.platform != 'darwin') {
    app.quit();
  }
});

// This method will be called when Electron has finished
// initialization and is ready to create browser windows.
app.on('ready', function() {
  // Create the browser window.
  mainWindow = new BrowserWindow({width: 800, height: 600});

  // and load the index.html of the app.
  mainWindow.loadUrl('file://' + __dirname + '/index.html');

  // Open the DevTools.
  mainWindow.openDevTools();

  // Emitted when the window is closed.
  mainWindow.on('closed', function() {
    // Dereference the window object, usually you would store windows
    // in an array if your app supports multi windows, this is the time
    // when you should delete the corresponding element.
    mainWindow = null;
  });
});
簡單的來說,在 main.js 裡面,我們透過 browser-window 模組建立了一個大小為
800x600 的視窗,並起打開 chromium 的開發者工具,這個視窗顯示的內容為
index.html ,我們在此填入以下內容:
<!DOCTYPE html>
<html>
  <head>
    <title>Hello World!</title>
  </head>
  <body>
    <h1>Hello World!</h1>
    We are using io.js <script>document.write(process.version)</script>
    and Electron <script>document.write(process.versions['electron'])</script>.
  </body>
</html>
當你以上的程式完成後,我們就可以直接使用 electron 命令來執行我們的專案,方法如下:
coldnew@Rosia ~/your-app $ electron .
於是我們第一個 electron 程式就這樣執行起來了~

建立你的 clojurescript 專案
雖然我們可以使用 electron-template 、 lein_template_descjop 等現成的 lein 樣板, 但是這些樣板不是預設使用 grunt 或是就是使用 reagent,對於沒接觸過這些工具的人而 言就是一個麻煩,因此我們還是建立自己的樣板吧。
(本文不討論 om 或是 reagent ,單純就是使用 clojurescript 建立簡單的 electron 專案)
首先先用 lein 建立一個空白的專案
coldnew@Rosia ~/cljs $ lein new electron_test
接著修改產生出來的 project.clj ,我們要加上 cljsbuild 的編譯設定,並指定輸出資
料夾為 app 資料夾,而在編譯時的優化方面,則是使用 :simple 來優化,並將
source-map 輸出到 app 資料夾方便出問題時的除錯
(defproject electron_test "0.1.0-SNAPSHOT"
  :description "A simple example to use cljs with electron"
  :url "http://example.com/FIXME"
  :license {:name "Eclipse Public License"
            :url "http://www.eclipse.org/legal/epl-v10.html"}
  :dependencies [[org.clojure/clojure "1.7.0"]
                 [org.clojure/clojurescript "1.7.28"]]

  :plugins [[lein-cljsbuild "1.0.6"]]

  :cljsbuild
  {:builds [{:source-paths ["src"]
             :compiler {:output-to "app/main.js"
                        :source-map "app/main.js.map"
                        :output-dir "app"
                        :optimizations :simple
                        :pretty-print false
                        }}]})
接著建立 app 資料夾,並且加入 index.html 以及 package.json 檔案
coldnew@Rosia ~/cljs/electron_test $ mkdir -p app
編輯 app/index.html 加上以下內容
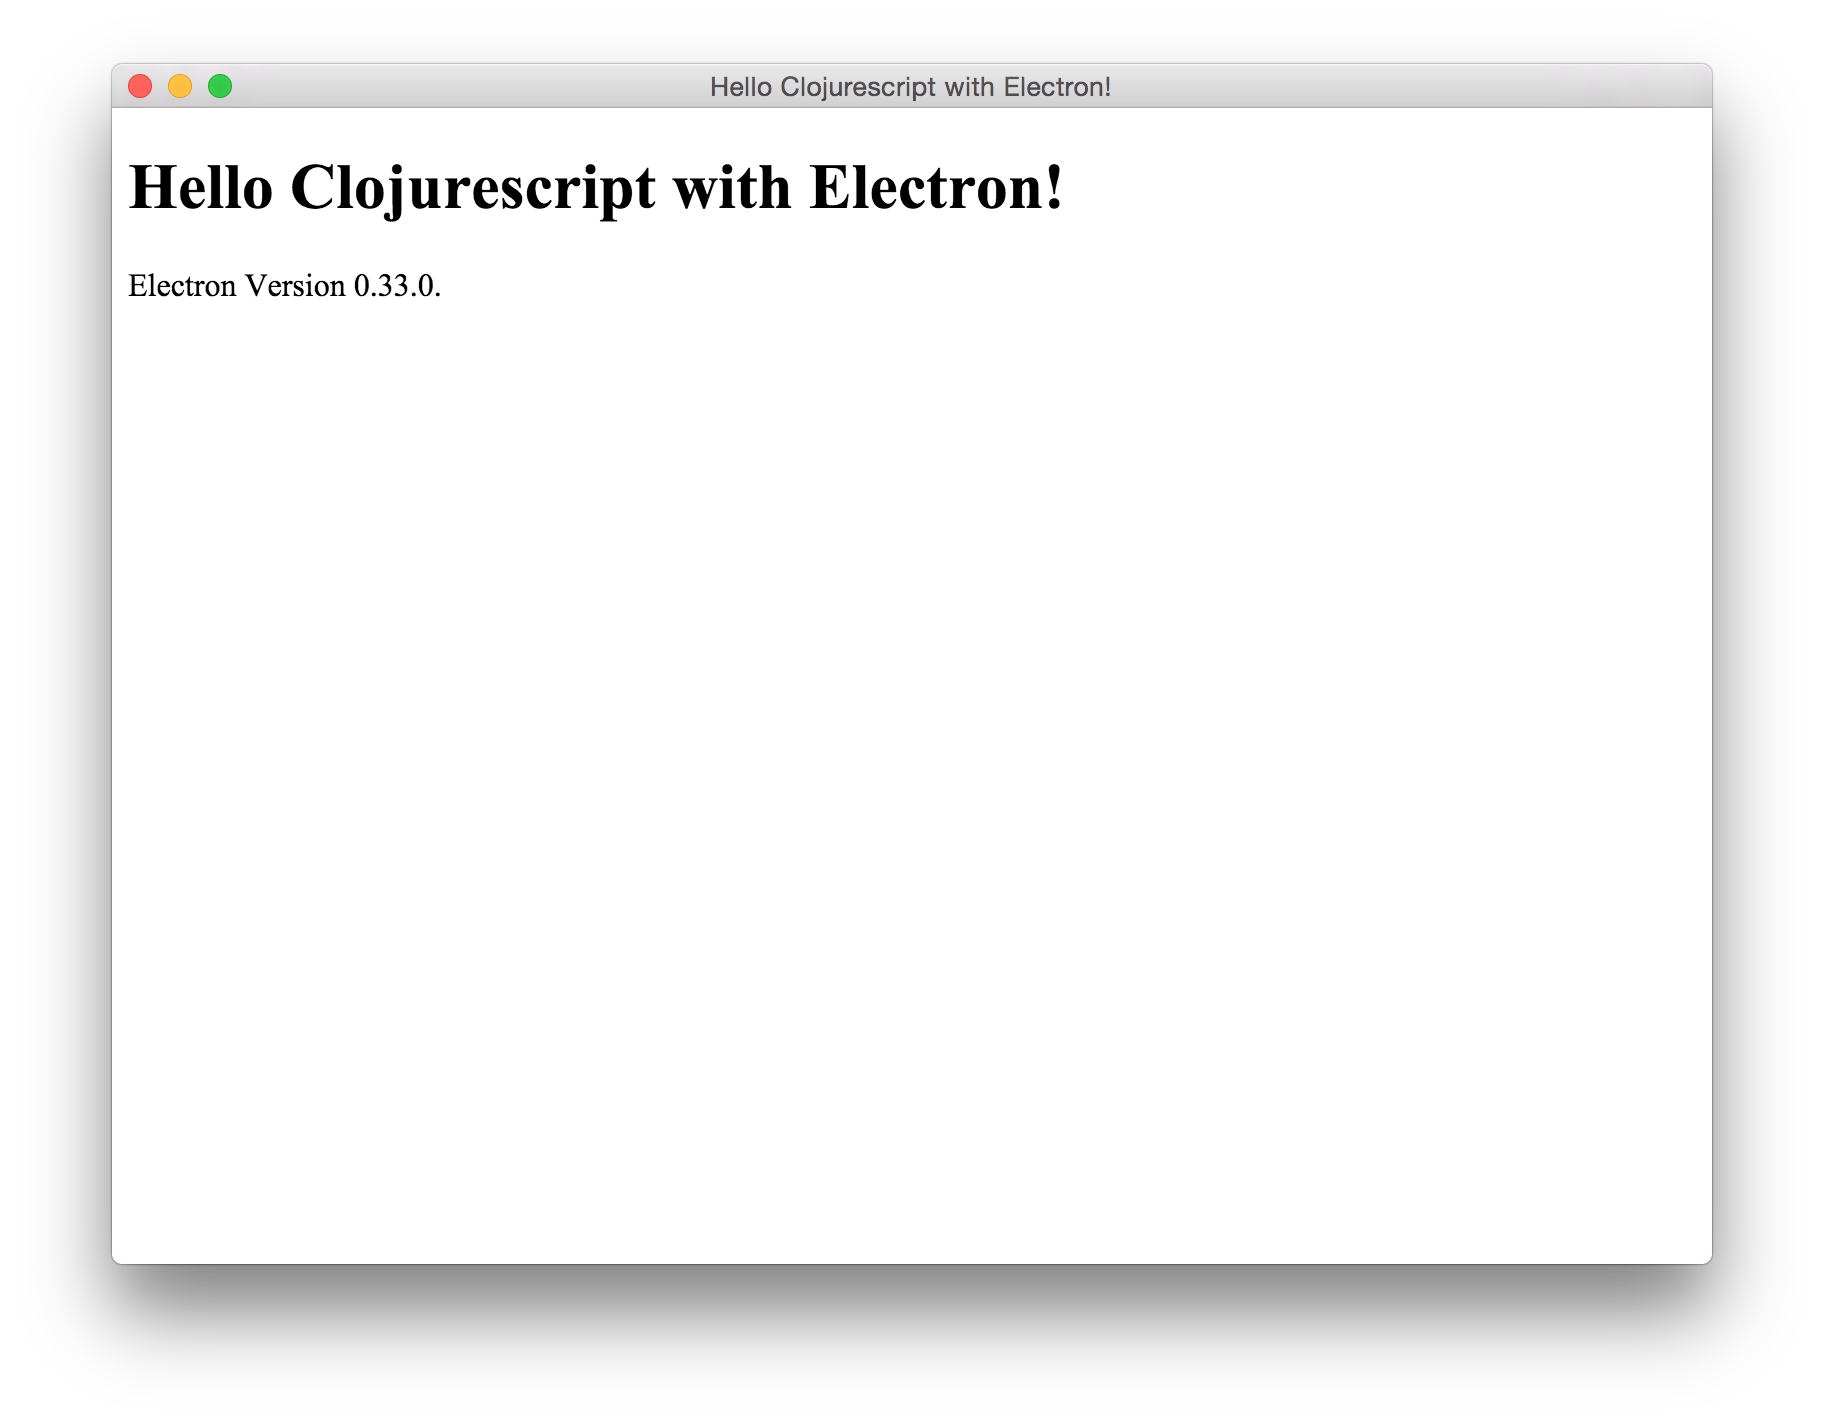
<!DOCTYPE html>
<html>
  <head>
    <title>Hello Clojurescript with Electron!</title>
  </head>
  <body>
    <h1>Hello Clojurescript with Electron!</h1>
    Electron Version <script>document.write(process.versions['electron'])</script>.
  </body>
</html>
編輯 app/package.json 並加入最基本的資訊
{
        "name": "electron_test",
        "version": "0.0.1",
        "description": "A simeple example for cljs with electron",
        "main" : "main.js"
}
編輯 src/electron_test/core.cljs 並加入我們的主程式
(ns electron-test.core)

(def app            (js/require "app"))
(def browser-window (js/require "browser-window"))

(.start (js/require "crash-reporter"))

(def main-window (atom nil))

(.on app "window-all-closed"
     (fn []
       (when-not (= js/process.platform "darwin")
         (.quit app))))

(.on app "ready"
     (fn []
       (reset! main-window (browser-window.
                            (clj->js {:width 800, :height 600})))
       (.loadUrl @main-window (str "file://" js/__dirname "/index.html"))
       ;;(.openDevTools @main-window)
       (.on @main-window "closed"
            #(reset! main-window nil))
       ))
最後,我們就可以使用 cljsbuild 來編譯我們的程式,如果沒出錯的話編譯出來的檔案會出現在 app 資料夾內
coldnew@Rosia ~/cljs/electron_test $ lein cljsbuild once
編譯完成後,執行 electron 就會看到結果囉 ~
coldnew@Rosia ~/cljs/electron_test $ electron app
打包並發佈你的專案
如果想要發佈你的 electron 專案出去,electron-packager 是個很方便的工具,首先我們 先安裝他:
# for use in npm scripts
npm install electron-packager --save-dev

# for use from cli
npm install electron-packager -g
而 electron-packager 基本使用的形式是這樣子的:
electron-packager <sourcedir> <appname> --platform=<platform> --arch=<arch> --version=<version>

Required options

platform           all, or one or more of: linux, win32, darwin (comma-delimited if multiple)
arch               all, ia32, x64
version            see https://github.com/atom/electron/releases
也就是說,如果我們的專案產生的結果都存放在 app 資料夾,程式的名稱為 test1 ,
而我們要針對 Linux amd64 平台使用 electron v0.33.0 產生我們的執行檔的話,則
命令是這樣下的
coldnew@Rosia ~/cljs $ electron-packager app test1 --platform=linux --arch=x64 --version=0.33.0
Downloading electron-v0.33.0-linux-x64.zip
[============================================>] 100.0% of 36.59 MB (184.77 kB/s)
Packaging app for platform linux x64 using electron v0.33.0
Wrote new app to ~/cljs/test1-linux-x64
你會看到 electron-packager 產生了名為 test1-linux-x64 的資料夾,而裡面有以下檔案
coldnew@Rosia ~/cljs $ tree -L 1 test1-linux-x64
test1-linux-x64/ <b>
├── LICENSE
├── content_shell.pak
├── icudtl.dat
├── libgcrypt.so.11
├── libnode.so
├── libnotify.so.4
├── locales <b>
├── natives_blob.bin
├── resources <b>
├── snapshot_blob.bin
├── test1 <g>
└── version

2 directories, 10 files
其中 test1 就是我們在 Linux 下的執行檔名稱,於是我們只要包裝這個資料夾就可以將其發佈出囉 ~
至於程式碼安全性,實際上 electron-packager 會將剛剛的 app 資料夾放置到
resource 裡面,因此真正要 release 程式時,最好使用 :advanced 編譯來優化以及保
護你的程式碼。