使用 nix-emacs-ci 和 travis-ci 來測試 emacs-lisp 專案
最近剛好在 reddit 看到了這篇: A new set of installable Emacs versions for your CI builds,於是就來順手試用一下。
nix-emacs-ci 是由 emacs 社群知名的開發者 purcell 所建立的專案,主要目標是用來替代 evm 以及讓開發者在 travis-ci 可以方便根據不同版本的 emacs 進行測試而設計。
本文將順便說明如何透過 nix-emacs-ci 來讓你的 emacs 套件可以在 travis-ci 進行不同版本 Emacs 的測試。
關於 nix-emacs-ci
就如 nix-emacs-ci 這個專案名一樣,這專案是透過 nix 這個套件管理程式建立,並將預先編譯好的 Emacs Binary 上傳到 Cachix 這個以 nix 套件為主的服務。
截至本文撰寫時間為止,nix-emacs-ci 共支援 emacs 24.2 ~ emcas 26.3 以及 emacs-snapshot 這些版本,你只要像這樣將以下內容填到你的 .travis.yml 即可讓 travis-ci 根據設定對你的 emacs 套件進行測試。
language: nix

os:
  - linux
  - osx

env:
  - EMACS_CI=emacs-snapshot

install:
  # The default "emacs" executable on the $PATH will now be the version named by $EMACS_CI
  - bash <(curl https://raw.githubusercontent.com/purcell/nix-emacs-ci/master/travis-install)

script:
  - ... your commands go here ...
實際上的範例請見以下文章。
建立專案
為了方便說明,這邊我建立一個名為 nix-emacs-ci-test 的專案來進行說明,首先先初始化專案
coldnew@gentoo ~ $ mkdir -p nix-emacs-ci-test && cd $_接下來,建立我們要測試的 emacs lib, 這邊我將其命名為 mylib.el ,並加入以下內容
(defun mylib-add-1 (num)
  "Increment NUM by 1."
  (+ 1 num))

(provide 'mylib)
這個 mylib.el 就只有一個名為 mylib-add-1 的函式,功能也很簡單,就是把傳入的參數 num 加 1 後回傳,也就是說
(mylib-add-1 1) ; => 2
(mylib-add-1 5) ; => 6
(mylib-add-1 9) ; => 10
加入 Makefile
完成 mylib.el 後,我們建立 Makefile 來方便測試
EMACS ?= emacs
BATCH := $(EMACS) $(EFLAGS) -batch -q -no-site-file -L .

all: mylib.elc

clean:
        $(RM) *.elc

%.elc: %.el
        $(BATCH) --eval '(byte-compile-file "$<")'

test: clean
        $(BATCH) -L . -l test/mylib-test.el -f ert-run-tests-batch-and-exit

.PHONY: clean test
在這邊,我們讓 Makefile 在執行 make test 命令的時候,會去跑 test/mylib-test.el 的程式,這就是我們接下來要寫的測試程式。
mylib-test.el
先建立 test 資料夾
coldnew@gentoo ~/nix-emacs-ci-test $ mkdir test && cd $_完成後編輯 test/mylib-test.el 這個檔案,加入以下內容
;;; mylib-test.el --- Tests for mylib

(require 'ert)
(require 'mylib)

(ert-deftest mylib-test/mylib-add-1 ()
  "Test if mylib-add-1 works"
  (should (=  2 (mylib-add-1 1)))
  (should (= 10 (mylib-add-1 9))))
在這邊,我們透過 ert 這個 Emacs 內建的函式庫來進行測試,完成後就可以跑看看 make test 命令
coldnew@gentoo ~/nix-emacs-ci-test $ make test
rm -f *.elc
emacs  -batch -q -no-site-file -L . -L . -l test/mylib-test.el -f ert-run-tests-batch-and-exit
Running 1 tests (2019-09-21 12:39:40+0800, selector ‘t’)
   passed  1/1  mylib-test/mylib-add-1 (0.000178 sec)

Ran 1 tests, 1 results as expected, 0 unexpected (2019-09-21 12:39:40+0800, 0.000564 sec)
可以看到測試有過,可以來加入 .travis.yml 來讓 travis-ci 知道怎樣透過 nix-emacs-ci 對我們這個專案進行測試。
.travis.yml
要讓 travis-ci 測試,需要編輯 .travis.yml 這個檔案,這邊我們加入以下內容,指定我們測試用的 Emacs 版本從 24.4 ~ 26.3 ,並且也拿最新版本的 emacs-snapshot 來測試 (不過允許 emacs-snaoshot 可以失敗就是~)
language: nix

os:
  - linux
  - osx

env:
  - EMACS_CI=emacs-24-4
  - EMACS_CI=emacs-24-5
  - EMACS_CI=emacs-25-1
  - EMACS_CI=emacs-25-2
  - EMACS_CI=emacs-25-3
  - EMACS_CI=emacs-26-1
  - EMACS_CI=emacs-26-2
  - EMACS_CI=emacs-26-3
  - EMACS_CI=emacs-snapshot

matrix:
  allow_failures:
    - env: EMACS_CI=emacs-snapshot

# The default "emacs" executable on the $PATH will now be the version named by $EMACS_CI
install:
  - bash <(curl https://raw.githubusercontent.com/purcell/nix-emacs-ci/master/travis-install)

script:
  - emacs --version
  - make clean
  - make
  - make test
都完成後,就可以在 GitHub 上面建立你的 repo, 並把這先程式 push 到 GitHub 上
設定 travis-ci
到 travis-ci 去設定,讓它可以對你的 repo 進行讀取,這樣就可以讓 travis-ci 抓到剛剛我們放的 .travis.yml 囉
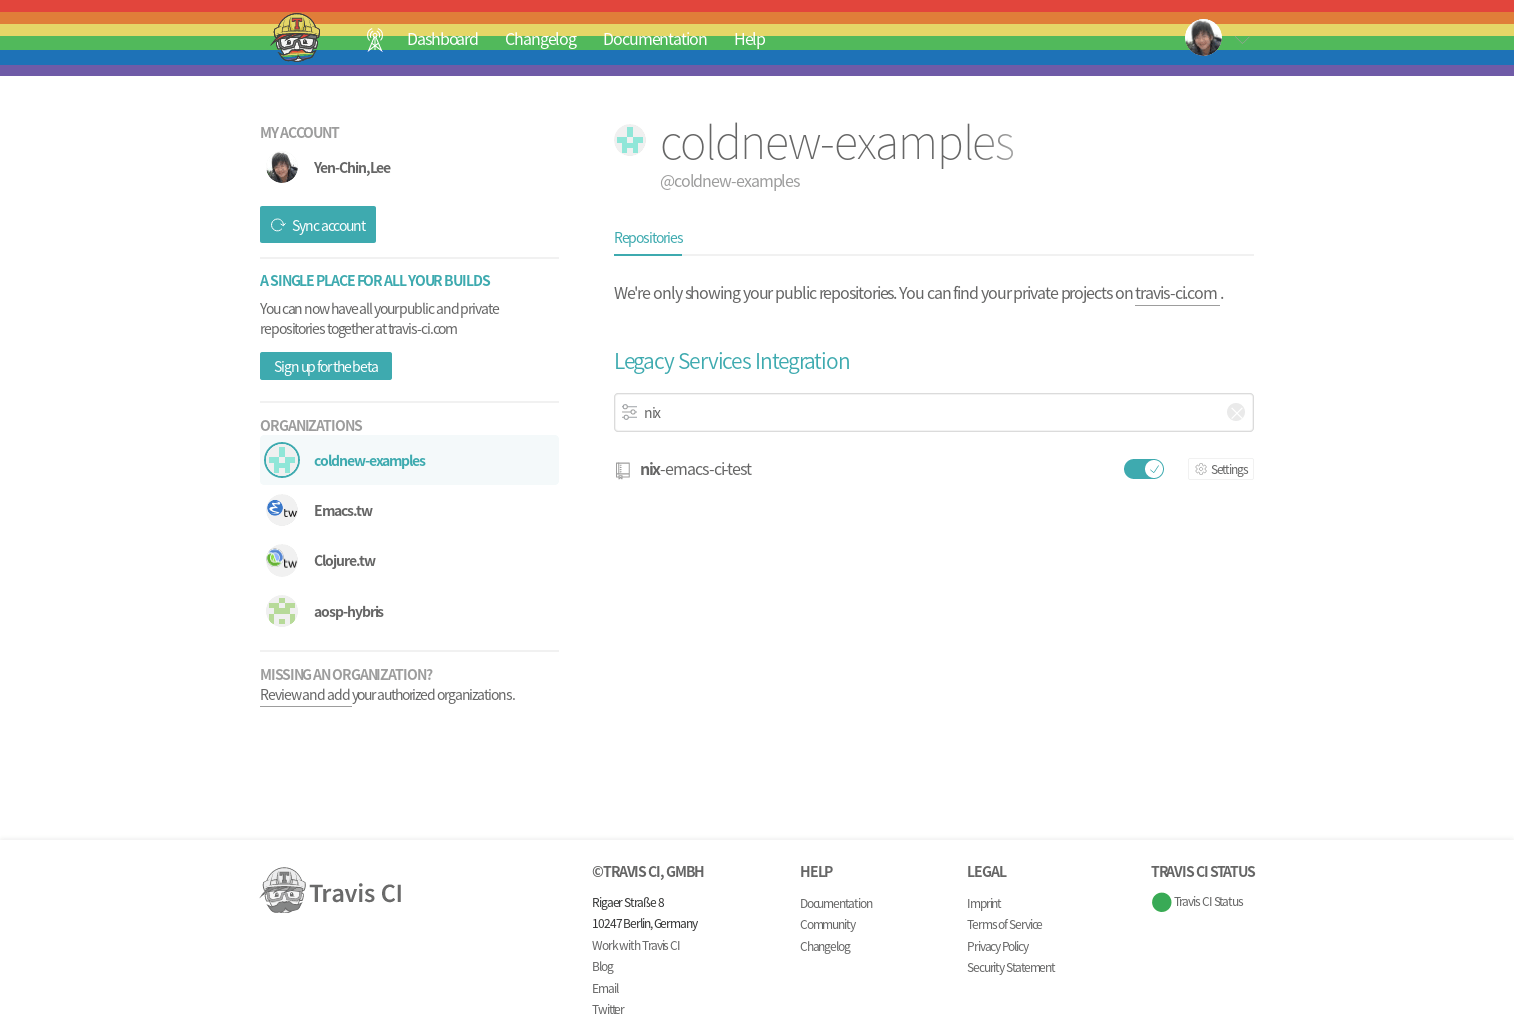
一切都順利的話就會看到在 travis-ci 上的測試結果
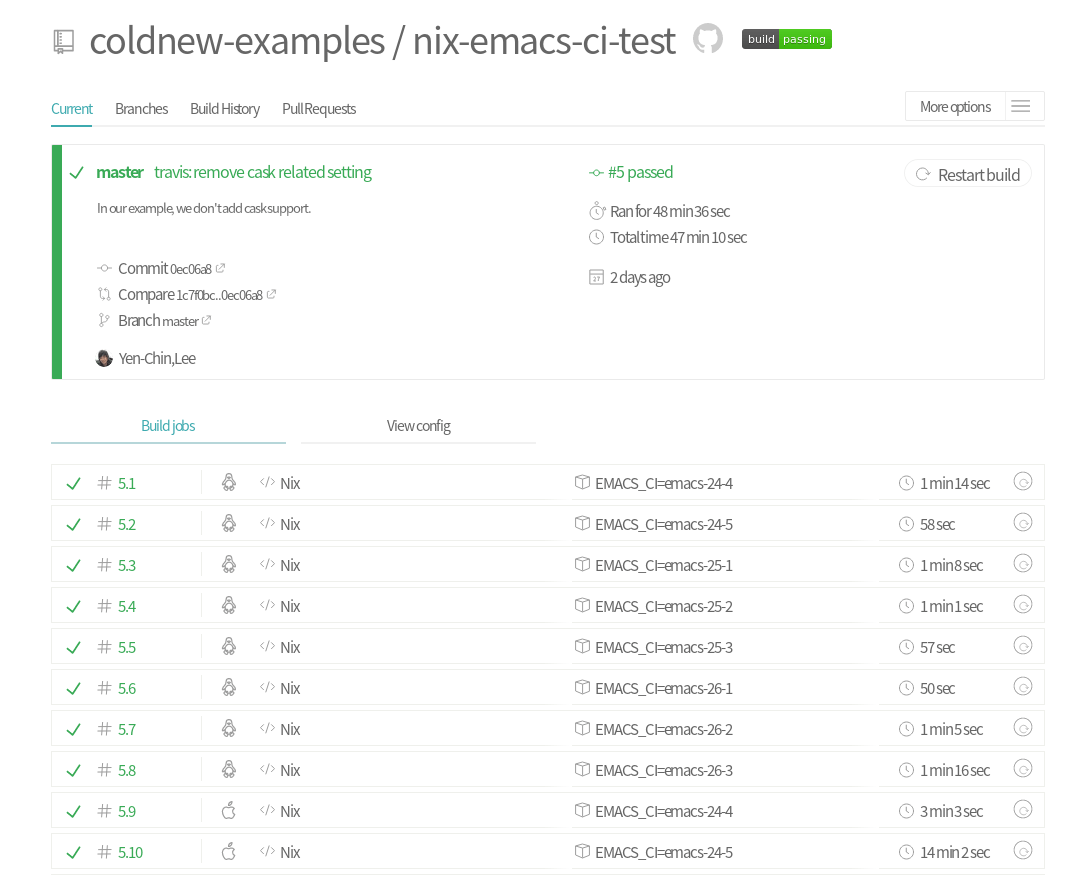
這樣以後對你的專案有任何新的改動,都可以讓 travis-ci 幫忙確認程式都有符合測試需求囉~
本文的範例
本文的範例已經上傳到 GitHub,你可以透過以下命令下載
git clone https://github.com/coldnew-examples/nix-emacs-ci-test.git或是直接到 coldnew-examples/nix-emacs-ci-test 直接查看。